1
2
3
4
5
6
7
8
9
10
11
12
13
14
15
16
17
18
19
20
21
22
23
24
25
26
27
28
29
30
31
32
33
34
35
36
37
38
39
40
41
42
43
44
45
46
47
48
49
50
51
52
53
54
55
56
57
58
59
60
61
62
63
64
65
66
67
68
69
70
71
72
73
74
75
76
77
78
79
80
81
82
83
84
85
86
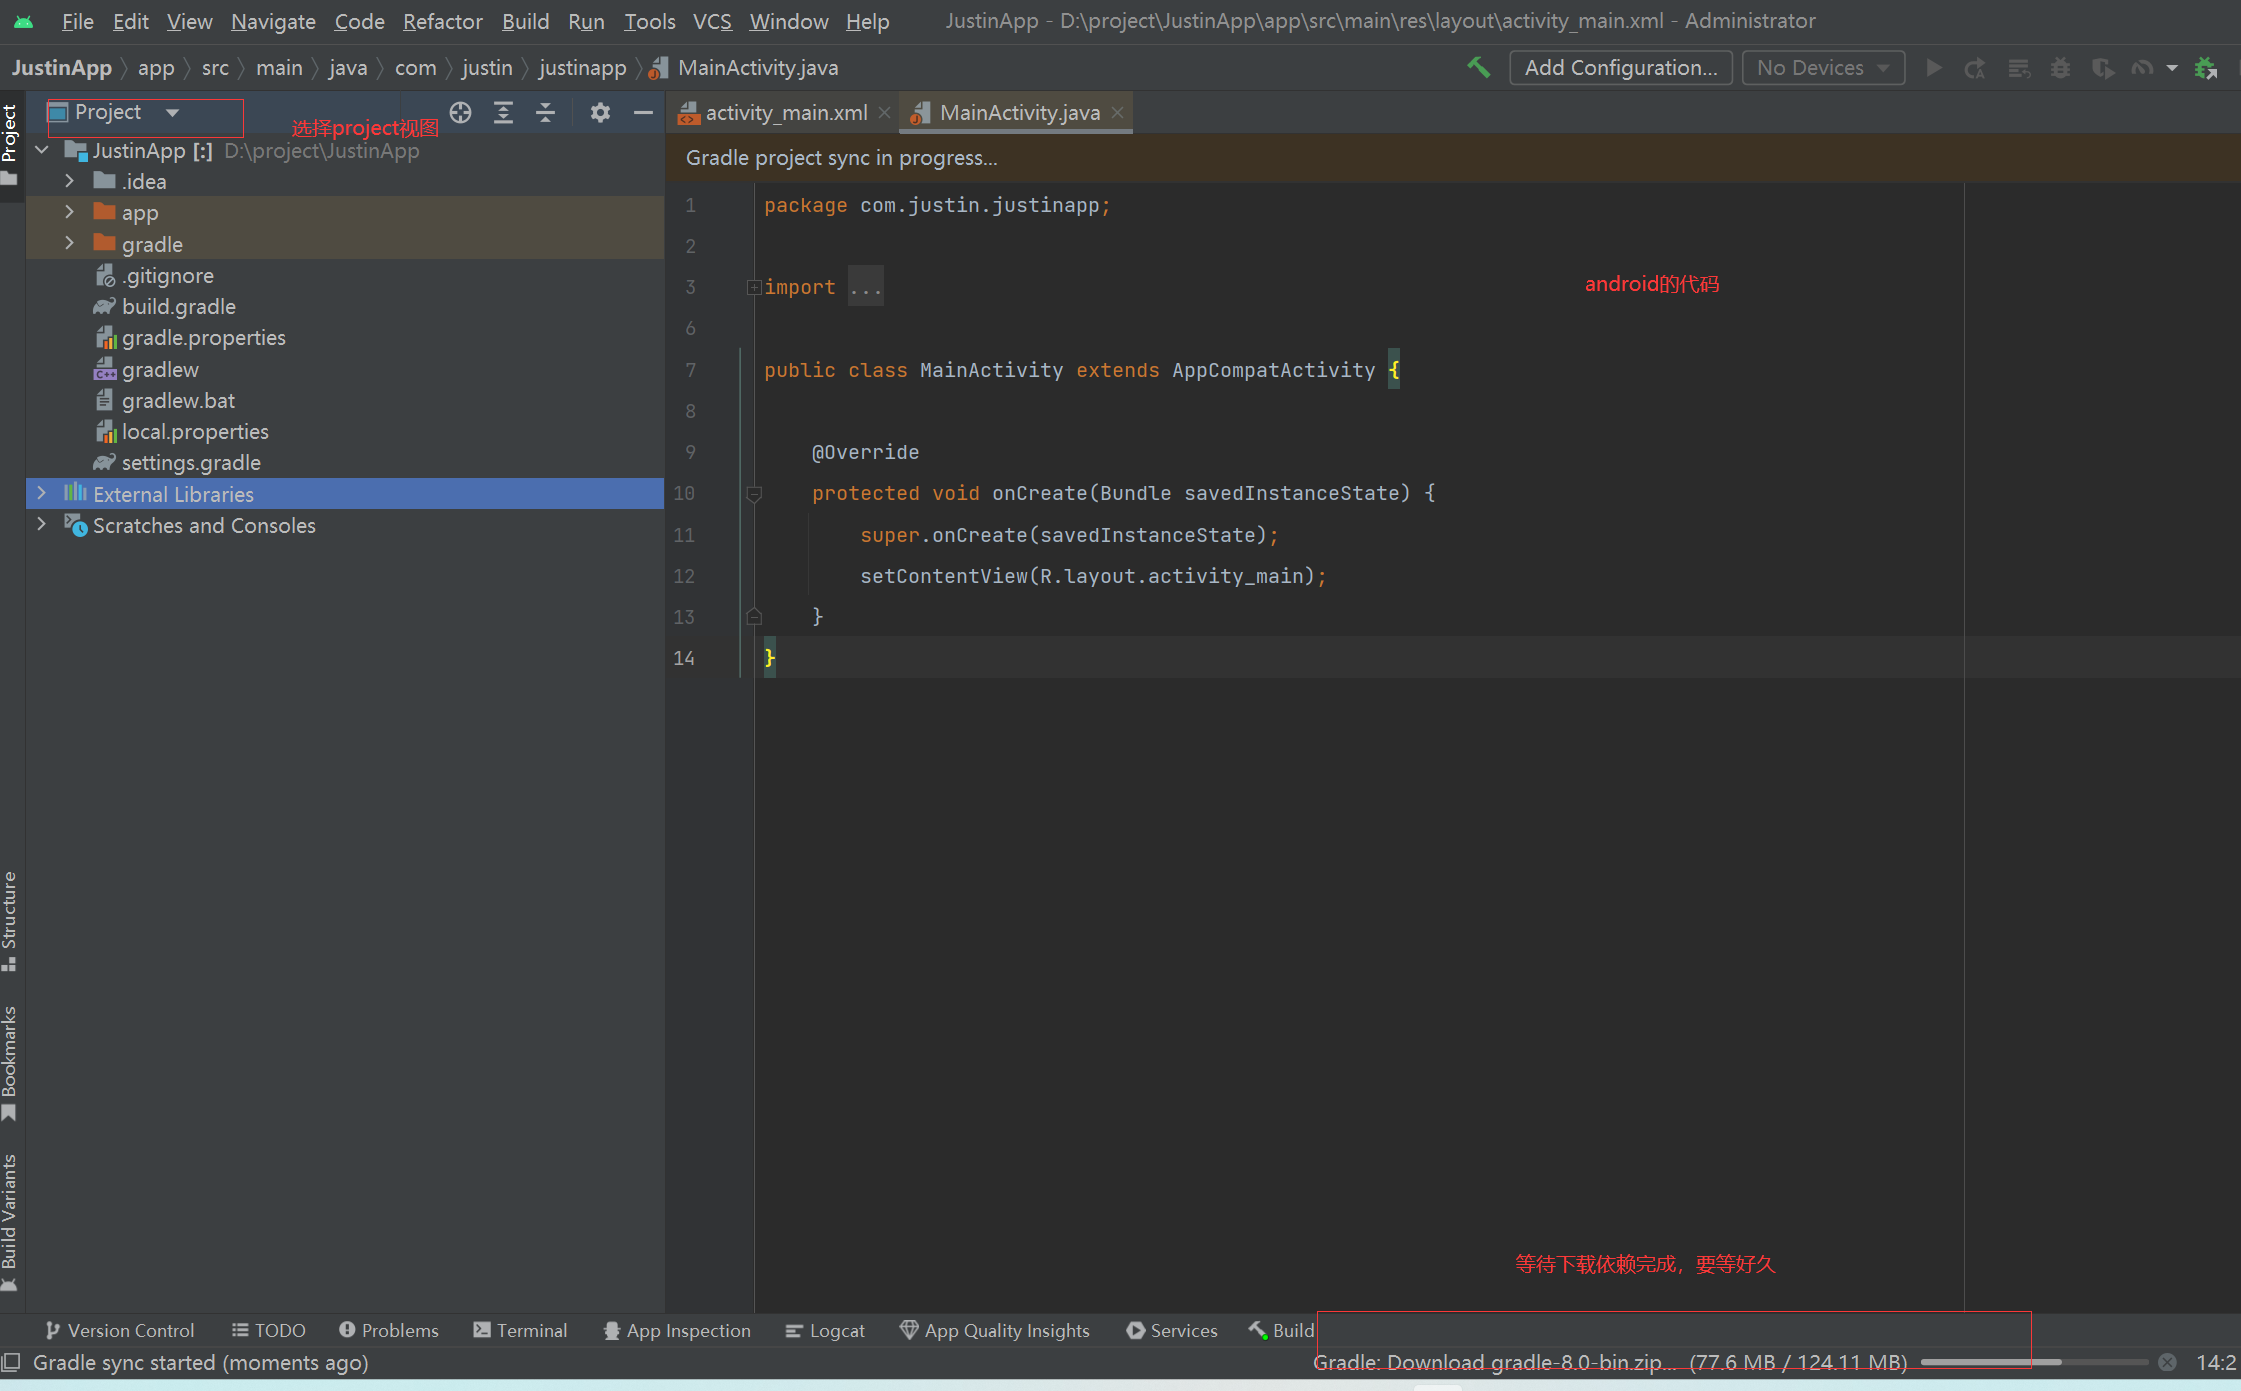
| package com.justin.justinapp;
import androidx.appcompat.app.AppCompatActivity;
import android.os.Bundle;
import android.os.Looper;
import android.util.Log;
import android.view.View;
import android.widget.Button;
import android.widget.TextView;
import android.widget.Toast;
import java.io.IOException;
import okhttp3.Call;
import okhttp3.FormBody;
import okhttp3.OkHttpClient;
import okhttp3.Request;
import okhttp3.Response;
import okhttp3.ResponseBody;
public class MainActivity extends AppCompatActivity {
private TextView txtUser, txtPwd;
private Button btnLogin, btnReset;
@Override
protected void onCreate(Bundle savedInstanceState) {
super.onCreate(savedInstanceState);
setContentView(R.layout.activity_main);
initView();
initListener();
}
private void initView() {
txtUser = findViewById(R.id.txt_user);
txtPwd = findViewById(R.id.txt_pwd);
btnLogin = findViewById(R.id.btn_login);
btnReset = findViewById(R.id.btn_reset);
}
private void initListener() {
btnReset.setOnClickListener(new View.OnClickListener() {
@Override
public void onClick(View v) {
txtUser.setText("");
txtPwd.setText("");
}
});
btnLogin.setOnClickListener(new View.OnClickListener() {
@Override
public void onClick(View v) {
loginForm();
}
});
}
private void loginForm() {
String username = String.valueOf(txtUser.getText());
String password = String.valueOf(txtPwd.getText());
Toast t= Toast.makeText(MainActivity.this, "登录成功", Toast.LENGTH_SHORT);
new Thread() {
@Override
public void run() {
OkHttpClient client = new OkHttpClient.Builder().build();
FormBody form = new FormBody.Builder().add("user", username).add("pwd", password).build();
Request req = new Request.Builder().url("http://192.168.1.12:8080/login").post(form).build();
Call call = client.newCall(req);
try {
Response res = call.execute();
ResponseBody body = res.body();
String dataString = body.string();
t.show();
Log.e("请求发送成功", dataString);
} catch (IOException ex) {
Log.e("Main", "网络请求异常");
}
}
}.start();
}
}
|